
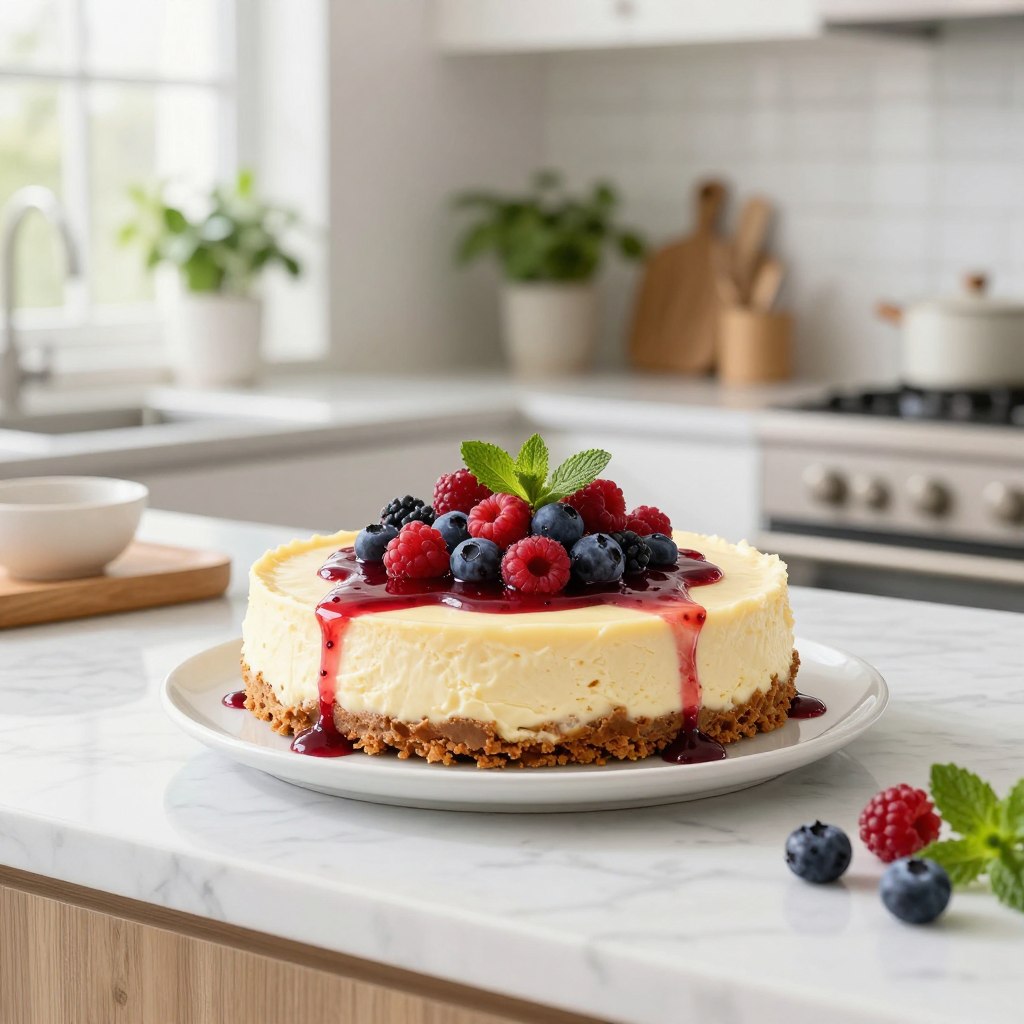
No Bake Protein Cheesecake is a creamy, chilled treat for those nights when you want something sweet without turning on the oven. Made with Greek yogurt, cottage cheese, protein powder, and a simple crust, it’s smooth, light, and easy to prepare. Make it ahead, chill it in the fridge, and enjoy a delicious dessert whenever a sweet craving hits. It fits naturally with the rest of our no-bake protein snacks.
Table of Contents

No-Bake High-Protein Cheesecake
- Total Time: 4 hours 15 minutes
- Yield: 8 slices
Description
This No-Bake High-Protein Cheesecake is creamy, smooth, and easy to make without an oven. Greek yogurt, cottage cheese, and protein powder create a protein-rich filling, while a simple oat crust adds a tasty base.
Ingredients
For the Crust
- 1 cup oat flour
- 2 tablespoons honey or maple syrup
- 2 tablespoons melted coconut oil
- 1/4 teaspoon salt
For the Filling
- 1 cup cottage cheese
- 1 cup plain Greek yogurt
- 1/2 cup vanilla protein powder
- 3 tablespoons honey or maple syrup
- 1 teaspoon vanilla extract
- 1 tablespoon fresh lemon juice
- 1 tablespoon gelatin powder
- 2 tablespoons warm water
For Topping
- Fresh berries, optional
- 1 tablespoon shredded coconut, optional
- A drizzle of honey, optional
Instructions
- Prepare the pan: Line the bottom of an 8-inch springform pan with parchment paper.
- Make the crust: Mix oat flour, honey or maple syrup, melted coconut oil, and salt until the mixture looks like damp crumbs.
- Press the crust: Press the mixture firmly into the bottom of the pan. Place it in the refrigerator while you make the filling.
- Blend the cottage cheese: Add cottage cheese to a blender and blend until completely smooth.
- Make the filling: Add Greek yogurt, protein powder, honey or maple syrup, vanilla, and lemon juice. Blend until creamy.
- Add the gelatin: Mix the gelatin powder with warm water until dissolved. Add it to the cheesecake mixture and blend briefly.
- Fill the pan: Pour the filling over the chilled crust and smooth the top.
- Chill: Cover and refrigerate for at least 4 hours, or until firm.
- Serve: Remove the cheesecake from the pan and top with fresh berries, coconut, or a little honey if desired.
Notes
Storage
Store the cheesecake covered in the refrigerator for up to 4 days.
You can also freeze individual slices for up to 1 month. Thaw them in the refrigerator before serving.
Recipe Tips
- Blend the cottage cheese until very smooth for a creamy cheesecake texture.
- Use thick Greek yogurt for a firmer filling.
- Let the cheesecake chill fully before slicing.
- Add strawberries, blueberries, or raspberries for a fresh topping.
- For a chocolate version, add 2 tablespoons of unsweetened cocoa powder to the filling.
- For an easier option, use a prepared graham cracker crust.
- Prep Time: 15 minutes
- Chill Time: 4 hours
- Category: Dessert, Snack
- Method: No-Bake
Key Takeaways
- Enjoy a satisfying dessert that supports your daily nutritional goals.
- Save time with a simple method that requires zero oven usage.
- Master the art of creating creamy, indulgent snacks at home.
- Fit healthy eating into a busy schedule with minimal effort.
- Discover how easy it is to balance flavor with wellness.
What is No-Bake Protein Cheesecake?
We think you should enjoy cheesecake without spending hours cooking or giving up on fitness. This modern cheesecake is creamy and satisfying, fitting into your busy day. It’s a healthy treat that uses smart ingredients instead of baking.
Definition and Key Ingredients
A no-bake protein cheesecake is a chilled dessert that uses healthier ingredients. Instead of heavy cream and sugar, it uses Greek yogurt or cottage cheese for a creamy texture. It also has protein powder for extra nutrition and that cheesecake taste you love.
Nutritional Benefits
This cheesecake is great because it’s balanced and nutritious. It’s not just sugar and fat like regular cakes. It gives you energy and helps you feel full, supporting your health and muscle recovery.
| Feature | Traditional Cheesecake | No-Bake Protein Cheesecake |
|---|---|---|
| Preparation | Oven-baked | Chilled/No-bake |
| Protein Content | Low | High |
| Sugar Levels | High | Low/Adjustable |
| Texture | Dense/Rich | Light/Creamy |
Ideal for Different Lifestyles
This recipe is perfect for anyone with a busy life or a fitness goal. It’s quick to make and doesn’t need an oven. It’s a healthy dessert that fits your diet needs, making meal prep easy and stress-free.
Why Choose No-Bake Protein Cheesecake?
Looking for a treat that supports your goals without spending hours in the kitchen? This recipe is perfect. It’s a satisfying snack that fits into your busy schedule. It helps you keep up with your nutrition while still enjoying something sweet.
Quick and Easy Preparation
This dish is simple to make. It’s an easy no-bake dessert that doesn’t need oven preheating or baking time. You can make a batch in minutes, perfect for when you need a quick snack.
Versatile Flavor Options
This recipe is a blank canvas for your creativity. You can change up the flavors by swapping extracts, adding fresh berries, or mixing in cocoa powder. It keeps your healthy eating exciting.
Perfect for Meal Prep
Meal prep is key for long-term success. This dessert keeps well in the fridge for days, staying creamy. Make a batch on Sunday to have a healthy snack ready when you need it.
| Feature | Traditional Cheesecake | No-Bake Protein Cheesecake |
|---|---|---|
| Preparation Time | Over 60 Minutes | Under 15 Minutes |
| Cooking Method | Oven Baked | Chilled Setting |
| Protein Content | Low | High |
| Storage Life | Short | Up to 5 Days |
Choosing simple, efficient food prep makes a big difference in your nutrition. Having a delicious, easy no-bake dessert in the fridge helps you stick to your wellness goals.
Ingredients Needed for No-Bake Protein Cheesecake
Making a tasty no bake protein cheesecake starts with the right ingredients. Having a clear shopping list makes cooking easier and less stressful. With the right ingredients, you can enjoy a dessert that’s both delicious and healthy.
Protein Sources
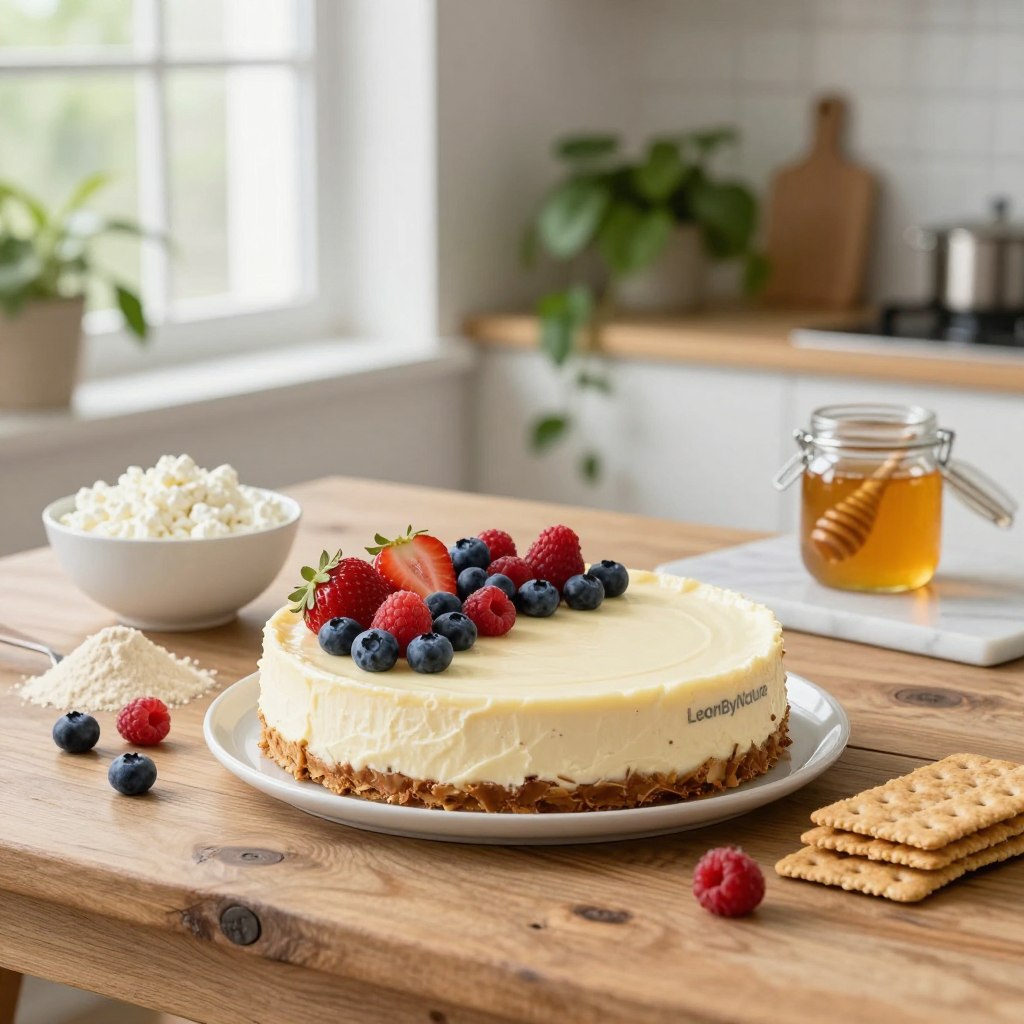
The base of your dessert is high-quality protein powder. You can pick whey protein isolate for a smooth texture or go for plant-based options like pea or soy protein. These powders add structure and nutrients, making your dessert filling.
Sweeteners and Flavorings
For a light dessert, choose the best sweeteners. Erythritol, stevia, or monk fruit are great for a low carb cheesecake. They let you enjoy a sweet treat without the extra calories.
Crust Alternatives
A crunchy base contrasts well with the creamy filling. Use crushed almonds or walnuts for a nutty base that’s keto-friendly. Or, mix rolled oats with nut butter for a fiber-rich crust that holds everything together.
| Ingredient Category | Best Choice | Benefit |
|---|---|---|
| Protein | Whey Isolate | Smooth texture |
| Sweetener | Monk Fruit | No sugar spike |
| Crust | Almond Flour | Healthy fats |
Step-by-Step Instructions for Making No-Bake Cheesecake
Want an easy no-bake dessert? This guide is perfect for you. No oven needed means no stress about temperature or baking time. It’s simple to make a high-protein treat that looks like it came from a pro.
Preparing the Crust
First, pick your base like crushed graham crackers, nuts, or oats. Mix it with a bit of melted butter or coconut oil until it’s like wet sand. Use a spoon or glass to press it into the pan’s bottom.
Make sure it’s even and firm for a solid base. Then, freeze it for ten minutes to set before adding the filling.
Making the Filling
In a big bowl, mix softened cream cheese or Greek yogurt with protein powder. Use a mixer or whisk until it’s smooth and lump-free. This is key for that creamy feel.
Add sweeteners or flavorings like vanilla or cocoa powder gently. The filling should be thick but still spreadable. If it’s too thin, chill it a bit before moving on.
Assembling the Cheesecake
Pour the filling over the chilled crust and smooth the top. You can add fruit or nut butter layers for extra flavor. This recipe ensures your cheesecake looks as great as it tastes.
After assembling, cover and chill in the fridge for at least four hours or overnight. This lets the ingredients firm up. When ready, slice and enjoy your high-protein masterpiece.
Tips for Achieving the Perfect Texture
Getting a smooth, velvety texture is key to a great quick cheesecake. The ingredients are simple, but how you mix them matters a lot. By using some professional tips, you can make sure your cheesecake turns out right every time.
Importance of Cream Cheese Consistency
For a smooth filling, start with room temperature cream cheese. Cold cream cheese won’t mix well, leaving lumps in your batter.
When the cheese is soft, it mixes easily with your other ingredients. This step is crucial for a creamy base that supports your dessert.
Folding Techniques
After mixing your base, aim for a light texture. Use a gentle folding motion when adding whipped toppings or protein foams. This keeps the air bubbles that make your cheesecake light.
Use a silicone spatula to mix the ingredients slowly. This helps avoid a dense cheesecake. Overmixing can make your filling heavy and dense.
Use of Gelatin or Agar-Agar
For a firmer cheesecake, try using gelatin or agar-agar. Gelatin is traditional, while agar-agar is a plant-based option. These thickeners help if you add extra moisture.
Always dissolve your thickener as directed before mixing it in. This avoids clumps and ensures a smooth set in your dessert.
| Issue | Common Cause | Fix |
|---|---|---|
| Lumpy Filling | Cold cream cheese | Bring ingredients to room temp |
| Dense Texture | Overmixing | Use gentle folding motions |
| Filling won’t set | Insufficient thickener | Check gelatin/agar ratios |
Flavor Variations to Try
Trying new flavors keeps your high-protein treats exciting. You can change up your recipe with just a few ingredients. This makes every dessert a special treat that matches your taste.
Classic Vanilla
A neutral base is great for adding quality extracts. A bit of vanilla bean paste or extract adds a nice aroma. Adding a pinch of sea salt can also make the protein powder taste sweeter.
Chocolate Delight
For chocolate lovers, adding cocoa powder is a quick fix. Mix in a tablespoon of unsweetened dark cocoa powder for a smooth texture. Adding sugar-free chocolate chips can also add a nice crunch.
Fruit-Infused Options
Fresh fruit adds a refreshing touch to your dessert. Try adding mashed raspberries, diced strawberries, or blueberry compote. These not only taste great but also make your dessert look beautiful.
| Flavor Profile | Key Ingredient | Best Topping |
|---|---|---|
| Classic Vanilla | Vanilla Bean Paste | Almond Slices |
| Chocolate Delight | Dark Cocoa Powder | Shaved Dark Chocolate |
| Berry Blast | Fresh Raspberries | Mint Leaves |
| Lemon Zest | Fresh Lemon Juice | Blueberries |
Playing with these ingredients lets you enjoy gourmet-like desserts. Feel free to mix and match flavors to find your favorite. Keeping your meals interesting is key to sticking to your health goals.
Health Benefits of No-Bake Protein Cheesecake
Eating well should be rewarding, not restrictive. Choosing a healthy dessert lets you enjoy your favorite tastes while nourishing your body. By making smart swaps, you can turn a classic treat into a balanced energy source.
High Protein Content
Adding a high protein cheesecake to your diet is great for meeting your protein needs. Protein is key for muscle repair and keeps you full longer. It’s ideal for busy people or anyone trying to control their hunger.
Low Sugar Options
Traditional sweets can cause energy crashes, but a low carb cheesecake keeps your blood sugar stable. Using natural sweeteners or sugar-free options lets you enjoy a creamy texture without the sugar rush. This helps maintain your energy and supports your health goals.
Gluten-Free Alternatives
Making a gluten-free dessert is easy with the right crust ingredients like almond flour or crushed nuts. These options give a nice crunch and are safe for those with gluten sensitivities. You can indulge in a delicious, worry-free treat that fits your lifestyle.
| Feature | Traditional Cheesecake | Protein Cheesecake |
|---|---|---|
| Protein Content | Low | High |
| Sugar Levels | High | Low/Minimal |
| Dietary Fit | Standard | Gluten-Free/Low Carb |
| Energy Impact | Quick Spike | Sustained |
Common Mistakes to Avoid
Mastering a no bake cheesecake recipe is easy once you know how to avoid common mistakes. Even with great ingredients, small errors can ruin the final result. Paying attention to your technique ensures your cheesecakes are always delicious and smooth.
Overmixing the Filling
Be careful not to overwork your mixture. Overmixing introduces too much air or breaks down the ingredients. This results in a dense or grainy texture, not the creamy one you want.
Rushing the Chilling Process
Patience is key when making these desserts. Serving your cheesecake too soon can make the filling soft or runny. Always give it enough time to firm up for a clean, professional slice.
Skipping the Taste Test
Always do a quick taste test before assembling. This lets you adjust the sweetness or flavor to your liking. It ensures your cheesecake is perfect before it goes into the fridge.
How to Serve and Store No-Bake Cheesecake
You’ve worked hard to make a healthy treat. Now, let’s keep it perfect until the last bite. Handling your sugar-free cheesecake right ensures every slice is as tasty as the first.
Presentation Tips
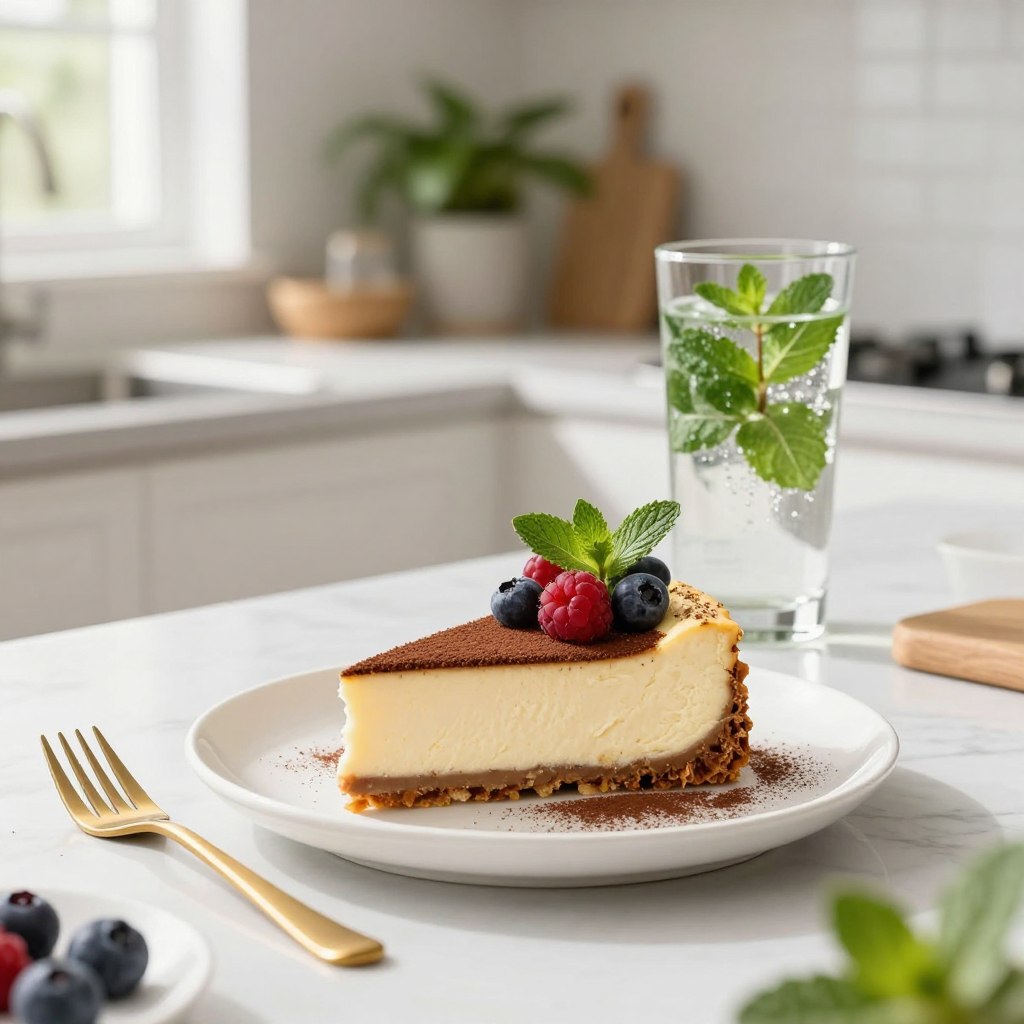
Make your dessert pop with simple garnishes. Add fresh berries or a drizzle of almond butter for a stunning look.
Try sprinkling crushed nuts or cinnamon on top. These small details turn your homemade dessert into a pro masterpiece.
Storage Guidelines
Store your sugar-free cheesecake in an airtight container. This keeps it from picking up fridge odors.
Place it in the coldest fridge spot, like the back. It stays fresh for up to four days this way.
Serving Suggestions
This recipe is great for any time of day. Enjoy a slice with coffee for breakfast or as a snack later.
For a party, serve it chilled with Greek yogurt. It’s a tasty way to support your health goals without losing flavor.
Frequently Asked Questions
Making a healthy treat at home should be easy and stress-free. We often get questions about making this gluten-free dessert fit specific diets or busy lives.
Can I Use Dairy-Free Alternatives?
Yes, you can swap traditional ingredients for plant-based ones. Try using coconut cream or almond-based cream cheese, like Kite Hill. These options keep the creamy texture and make your snack inclusive for all.
How Long Does It Last in the Fridge?
Proper storage keeps your treats fresh for meal prep. Store your cheesecake in an airtight container. It stays tasty for up to five days in the fridge. If this one works for you, make our No-Bake Protein Cookies next.
We hope these answers make you feel confident in the kitchen. Enjoy trying new flavors and sharing this gluten-free dessert with loved ones. From here you can browse more chilled high-protein snacks.
FAQ
Can I use dairy-free alternatives for this no bake protein cheesecake?
Absolutely! This recipe is super versatile. You can swap cream cheese and Greek yogurt for coconut cream or almond-based cream cheese. Use plant-based protein powder like Sunwarrior or Orgain for a delicious, dairy-free, and gluten-free dessert.
How long does it last in the fridge for meal prep?
This dessert is great for meal prep. It stays fresh in an airtight container for 4 to 5 days. It’s a quick, high-protein treat you can grab anytime.
What is the best way to ensure my sugar-free cheesecake sets properly?
Patience is key! This cheesecake needs at least 4 hours (or overnight) in the fridge to set. For a firmer slice, add gelatin or agar-agar to the filling.
Can I turn this into a low carb cheesecake?
Yes, it’s easy to adapt. Skip the graham cracker crust for a pecan or almond flour base with melted butter. Use Lakanto Monk Fruit for a sugar-free cheesecake that fits your macros.
Which protein powder works best for this no bake cheesecake recipe?
Choose a high-quality whey or casein blend for creaminess. Optimum Nutrition or Quest are good options. Casein is great for a thicker, cheesecake-like texture.
Why is my high protein cheesecake filling lumpy?
Lumps come from cold cream cheese. Let it warm to room temperature before mixing. This makes your cheesecake smooth and indulgent.