
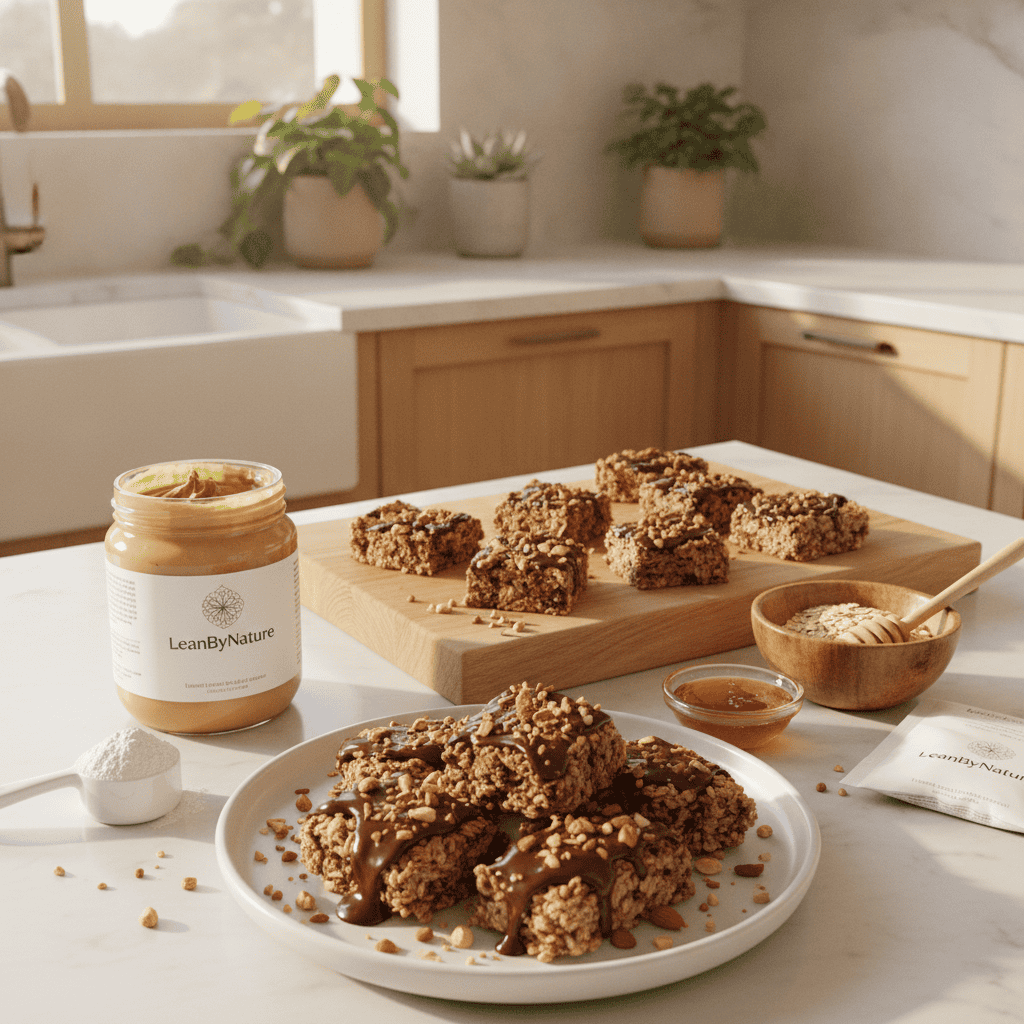
If you’re looking for No Bake Protein Bars with Peanut Butter, this easy homemade recipe is a simple way to make a satisfying high-protein snack without turning on the oven. Made with peanut butter, oats, protein powder, and a few pantry staples, these bars come together in minutes and are perfect for meal prep, post-workout snacks, or busy afternoons. They’re chewy, filling, and easy to customize with your favorite mix-ins. They sit with our other no-bake protein snacks if you would rather skip the oven.
Table Of Contents
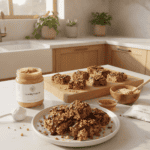
No-Bake Protein Bars with Peanut Butter
- Total Time: 40 minutes
- Yield: 10 bars
Description
These no-bake protein bars with peanut butter are an easy, chewy homemade snack made with simple pantry ingredients. They require no oven and are ideal for meal prep, quick breakfasts, or a protein-rich afternoon snack.
Ingredients
- 1 cup creamy natural peanut butter
- 1/2 cup honey or maple syrup
- 1 1/2 cups rolled oats
- 1/2 cup vanilla or unflavored protein powder
- 1/4 cup ground flaxseed
- 1 teaspoon vanilla extract
- 1/4 teaspoon salt
- 2–4 tablespoons milk, as needed
- 2 tablespoons mini chocolate chips, optional
Instructions
- Prepare the pan: Line an 8-inch square baking pan with parchment paper, leaving some overhang for easy removal.
- Mix the wet ingredients: Add peanut butter, honey or maple syrup, and vanilla extract to a bowl. Stir until smooth and well combined.
- Add the dry ingredients: Mix in the rolled oats, protein powder, ground flaxseed, and salt.
- Adjust the texture: If the mixture feels too dry or crumbly, add milk 1 tablespoon at a time until it becomes thick and easy to press together.
- Add chocolate chips: Fold in the mini chocolate chips if using.
- Press into the pan: Transfer the mixture to the prepared pan and firmly press it into an even layer.
- Chill: Refrigerate for at least 30 minutes, or until firm.
- Slice and serve: Lift the chilled mixture from the pan using the parchment paper and cut into 10 bars.
Notes
Storage
Store the bars in an airtight container in the refrigerator for up to 1 week. For longer storage, freeze them individually for up to 3 months and thaw before serving.
Recipe Tips
- Use natural peanut butter that is well stirred for the best texture.
- Add a little more milk if your protein powder makes the mixture too dry.
- For extra crunch, add chopped peanuts or almonds.
- For a chocolate version, mix in 1–2 tablespoons of unsweetened cocoa powder.
- Press the mixture firmly into the pan so the bars hold together well.
- Prep Time: 10 minutes
- Chill Time: 30 minutes
- Category: Snack
- Method: No-Bake
- Cuisine: American
Key Takeaways
- Learn how to prepare nutritious snacks without using an oven.
- Discover how to save money by making your own energy-dense treats.
- Understand the benefits of using simple, whole-food ingredients.
- Find a perfect balance of flavor and nutrition for your busy schedule.
- Master a versatile method that fits any dietary preference.
Introduction to No-Bake Protein Bars
Creating tasty, high-protein snacks without an oven is surprisingly easy. These treats are perfect for busy days. Making them yourself means you control what goes into your food.
What Are No-Bake Protein Bars?
No-bake protein bars are simple snacks that don’t need cooking. You mix dry ingredients like protein powder and oats with wet ones like nut butter and honey. Then, they chill in the fridge until firm.
This method is called no baking because it skips the oven. It’s great for those who hate waiting or preheating. These bars keep your energy up all day.
Benefits of No-Bake Protein Bars
These treats keep nutrients in your ingredients because they don’t use high heat. This makes them better than many store-bought snacks.
They’re also quick to make and last all week. Making your own bars means no hidden additives or too much sugar. They’re a smart, tasty choice for a healthy lifestyle.
Key Ingredients for Peanut Butter Protein Bars
Building a pantry with simple, nutritious items is key to making great snacks. Choosing high-quality ingredients ensures your homemade protein bars taste good and are filling. Start by picking the right base ingredients for these easy treats.
Choosing the Right Protein Powder
The protein powder you choose affects your bars’ texture. Opt for whey or a plant-based blend that doesn’t get chalky. Vanilla or unflavored powder is best, letting the peanut butter’s flavor stand out.
Look for simple ingredients on the label to avoid fillers. A good powder gives you the energy you need for a busy day. Find a brand you like, and your bars will taste like they’re from a store.
The Importance of Natural Peanut Butter
Natural peanut butter is crucial for binding your bars. It has only peanuts and maybe a bit of salt. This makes your bars creamy and chewy.
If your peanut butter is too runny, adjust your dry ingredients. Always mix the jar well before measuring. This small step improves your snack’s quality.
Additional Mix-Ins for Flavor
With your base ready, you can add mix-ins for more flavor. Rolled oats or chia seeds add crunch and fiber. Dark chocolate chips or shredded coconut add sweetness.
These extras let you tailor your snacks to your taste. Whether you want more texture or sweetness, these ingredients make each batch special. Try different combinations to have fun making your own snacks.
Step-By-Step Guide to Making No-Bake Protein Bars
Making healthy protein bars is easier than you think. Just follow a few simple steps. You can make tasty snacks for your busy days without using an oven.
Preparing Your Workspace
First, clear a clean area to work on. Having your ingredients ready makes making no cook protein bars fun and easy.
Get your mixing bowl, a strong spatula, and a parchment-lined baking dish ready. Having your tools close keeps you focused while mixing your favorite ingredients.
Mixing Ingredients Properly
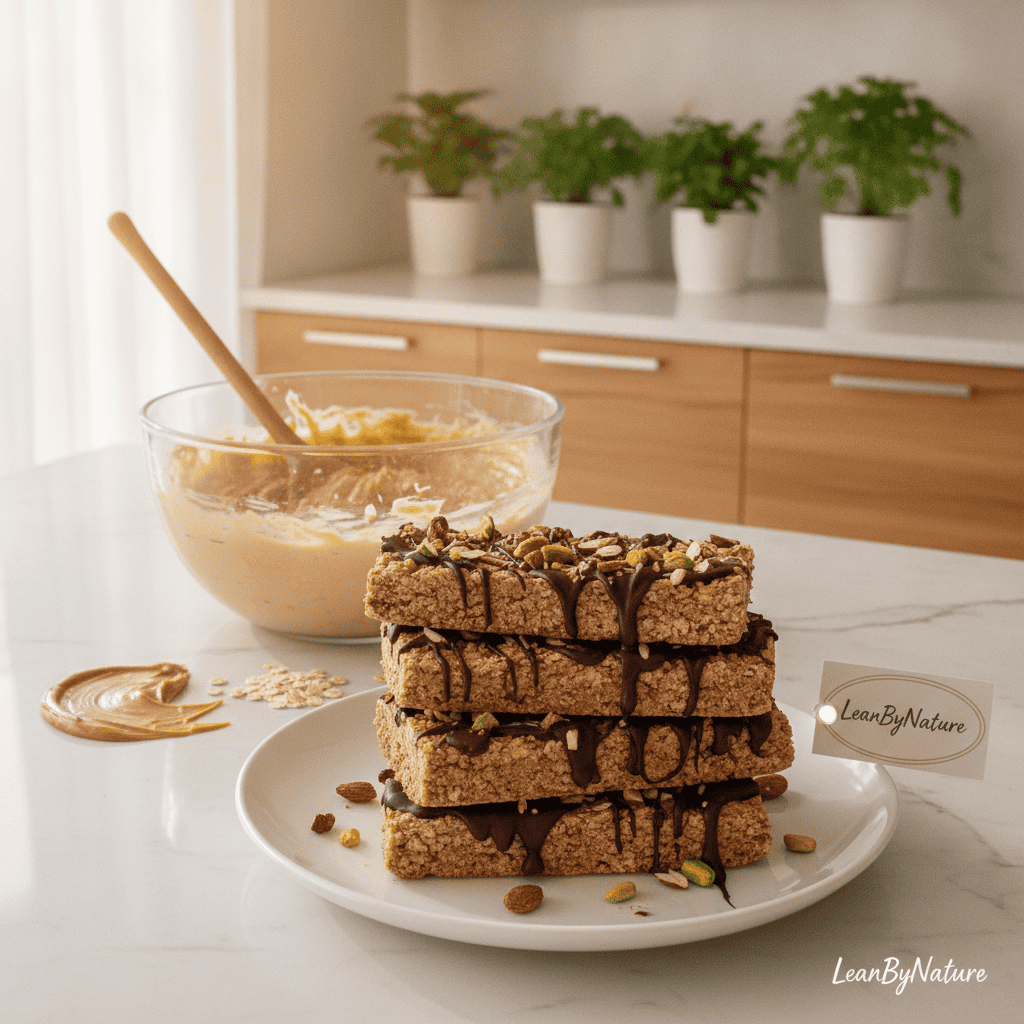
Start by mixing your dry ingredients, like protein powder and oats, in a big bowl. This recipe needs a solid base for the right texture in every bite.
Then, add your wet ingredients, like peanut butter and honey, slowly while stirring. You want the mix to be thick and hold together when pressed.
Shaping and Storing the Bars
Put your mix into the pan and press it down with a spoon. Making the bars dense helps them stay together when cut.
After shaping, chill the bars in the fridge for at least an hour. This step is key for a firm, satisfying texture.
| Storage Method | Ideal Duration | Best For |
|---|---|---|
| Refrigerator | Up to 1 Week | Daily snacking |
| Freezer | Up to 3 Months | Long-term meal prep |
| Countertop | Not Recommended | N/A |
Once set, cut the bars into your preferred size. Store them in an airtight container. Keeping them cool keeps them fresh and ready for a quick energy boost.
Flavor Variations for Peanut Butter Protein Bars
Variety is key to keeping healthy habits interesting. No bake protein bars can get boring if they’re the same every day. Changing up your ingredients can make a big difference in taste.
Chocolate Chip Peanut Butter Bars
Dark chocolate chips can make any protein bar better. They mix well with peanut butter’s creamy and salty taste. Just add a handful of mini chips to the mix for a fun texture.
Coconut Almond Crunch Bars
Try adding unsweetened shredded coconut for a tropical twist. Chopped raw almonds add crunch. This mix gives a nutty flavor that’s both tasty and healthy.
Vanilla Nut Surprise Bars
Pure vanilla extract adds a light, sweet aroma. Mixing in different nuts like walnuts or pecans makes the bars unique. This recipe is easy to change up, so try new combinations to find your favorite.
Nutritional Benefits of No-Bake Protein Bars
Choosing homemade snacks means you control what you eat. These bars help you stay full and strong all day. Let’s see how their ingredients boost your energy.
High Protein Content
Protein is key for muscle growth and keeping you full. High-quality protein powder gives your body the amino acids it needs. These bars help you meet your protein needs without processed snacks.
Healthy Fats and Fiber
Natural nut butters and seeds give you lasting energy. Healthy fats are good for your brain and help you absorb nutrients better. The fiber keeps your digestion smooth and stops energy crashes.
Low Sugar Alternatives
Many snacks have hidden sugars that cause energy ups and downs. Using natural sweeteners like honey or stevia keeps your bars tasty without extra sugar. This way, you can enjoy a sweet treat that fits a healthy lifestyle.
Suitable Dietary Preferences
We think your dietary choices shouldn’t stop you from enjoying tasty, high-protein snacks. Our goal is to make healthy eating easy for everyone, no matter your health goals. You can easily change ingredients to make sure your bars match your lifestyle, keeping the creamy texture and flavor you love.
Gluten-Free Options
Want to avoid gluten? You can still enjoy these bars with a few easy changes. Always check your labels to make sure your rolled oats are gluten-free. This is because gluten can get into other foods during processing. Also, choose a gluten-free protein powder for a safe and effective snack.
Vegan-Friendly Ingredients
Making a vegan version of these bars is easy and just needs a few tweaks. Swap traditional whey protein for pea, soy, or brown rice protein powder to keep it high in protein. For the binder, use maple syrup or agave nectar instead of honey. These small changes make your homemade snacks inclusive, delicious, and tailored to your preferences.
Tips for Customizing Your No-Bake Protein Bars
Making your own snacks is fun and lets you control what you eat. When you make homemade protein bars, you can pick the ingredients. This way, you can make each batch special and tailored to your needs.
Adjusting Sweetness Levels
Some recipes might be too sweet or not sweet enough. If you like things less sweet, cut the honey or maple syrup in half. You can also use mashed dates or stevia to lower sugar levels.
Incorporating Superfoods
Adding superfoods can make your bars healthier. Try adding chia seeds, ground flax, or hemp hearts. They add fiber and omega-3s, and they’re crunchy without changing the bar’s texture.
Using Different Nut Butters
Changing the nut butter can completely change your recipe. While peanut butter is popular, try almond, cashew, or sunflower seed butter for something different. Each one gives your bars a unique taste.
| Nut Butter Type | Flavor Profile | Best Use Case |
|---|---|---|
| Peanut Butter | Rich and Savory | Classic, hearty bars |
| Almond Butter | Mild and Nutty | Pairs well with fruit |
| Cashew Butter | Creamy and Sweet | Dessert-style snacks |
| Sunflower Butter | Earthy and Bold | Nut-free requirements |
Creative Ways to Enjoy No-Bake Protein Bars
These bars are perfect for your busy days, any time of day. They’re full of good stuff, making them a quick and easy snack. Plus, they help you reach your health goals without needing to bake.
As a Post-Workout Snack
After a tough workout, your body needs nutrients to recover. These bars are a quick, protein-rich snack to grab from your gym bag. They have the right mix of carbs and protein to refill your energy.
Energizing Breakfast Alternative
Mornings can be crazy, but you shouldn’t skip breakfast. These no-bake bars are a great, quick breakfast option. They keep you full and focused until lunchtime, perfect for busy people.
Healthy Dessert Option
Enjoying something sweet doesn’t mean you have to eat junk. These bars are a healthy, tasty treat after dinner. They’re made with wholesome ingredients, so you can indulge without guilt.
| Usage Scenario | Primary Benefit | Best Time to Eat |
|---|---|---|
| Post-Workout | Muscle Recovery | Within 45 minutes of exercise |
| Breakfast | Sustained Energy | Early morning commute |
| Dessert | Sweet Satisfaction | After dinner |
Common Mistakes to Avoid
Getting the perfect texture for your bars is easy once you know what to avoid. Even the most skilled home cooks make small mistakes when making an easy protein snack. Knowing these common errors helps ensure every batch turns out perfectly.
Over-Mixing Ingredients
It’s tempting to stir until everything looks uniform. But over-mixing can ruin your bars. It breaks down the oats or nuts, making them dry and crumbly.
This can cause your bars to fall apart when you try to slice them.
Incorrect Storage Conditions
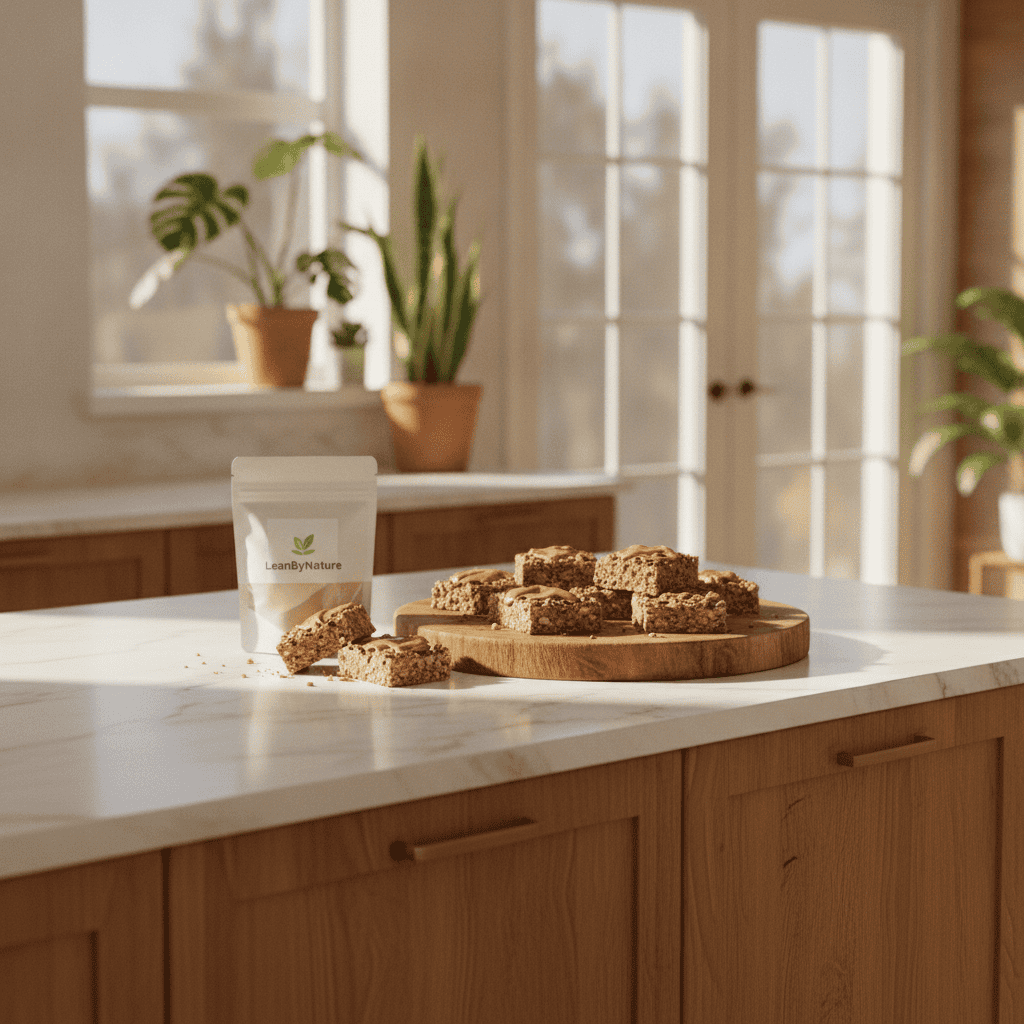
Storing your bars right is key to keeping them fresh. Leaving them out too long can make them lose shape or become too soft. Keep them in an airtight container in the fridge to keep their texture and flavor perfect.
Skipping the Refrigeration Step
Many people rush to eat their quick protein snack without cooling it first. But cooling is crucial. It lets the fats in the nut butter firm up, giving your bars structure.
Without cooling, your bars won’t hold together when you bite into them.
| Issue | Common Cause | Simple Fix |
|---|---|---|
| Crumbly Texture | Over-mixing ingredients | Fold gently until just combined |
| Bars Melting | Warm storage area | Keep in the refrigerator |
| Soft Consistency | Skipping refrigeration | Chill for at least two hours |
| Stale Flavor | Poorly sealed container | Use an airtight glass jar |
Conclusion: Making No-Bake Protein Bars a Staple
Learning to make quick snacks changes how you fuel your body. You now have the tools to create nutritious bites that fit your lifestyle perfectly.
No bake protein bars are a reliable way to stay energized. You can trust this healthy protein bar recipe to provide the fuel you need for your fitness goals.
Why Customization Matters
Your kitchen is the best place to explore new flavor combinations. Every simple protein bar recipe serves as a blank canvas for your favorite nuts, seeds, and natural sweeteners.
We encourage you to swap ingredients based on what you have in your pantry. Making these adjustments ensures you never get bored with your meal prep routine.
Start Your Batch Today
Grab your mixing bowl and start crafting your own signature snacks this afternoon. You will find that consistency is the secret to maintaining a balanced diet that feels effortless. For another take on the same idea, try our fudgy high protein brownies.
Share your favorite creations with friends or keep them all to yourself for a busy morning. Enjoy the process of building a healthier version of your daily snack routine one batch at a time. That approach carries across more high-protein snack recipes.
FAQ
How should I store my homemade protein bars to keep them fresh?
Store your homemade protein bars in an airtight container in the fridge. This keeps them firm and chewy for up to a week. For longer storage, wrap them individually and freeze for up to three months.
Can I make this healthy protein bar recipe if I have a nut allergy?
Yes! Swap peanut butter for sunflower seed butter or soy nut butter. This makes the bars safe for school lunches or workplaces without nuts.
What is the best protein powder to use for DIY protein bars?
Choose a high-quality protein powder you like, like Optimum Nutrition Gold Standard Whey or Orgain. The flavor is more noticeable in no-bake recipes, so pick a smooth one for a creamy taste.
Why are my no bake energy bars coming out too crumbly?
Crumbly bars mean the mix is too dry. Try adding a splash of almond milk or more peanut butter. Aim for a dough-like consistency for easy pressing.
Is this simple protein bar recipe suitable for a vegan diet?
Yes! Use plant-based protein powder and replace honey with maple syrup or agave. It’s a quick, vegan-friendly snack without complicated ingredients.
Can I add extra ingredients like seeds or dried fruit to my no bake protein bars?
Definitely! Add chia seeds, flaxseeds, or dried cranberries for extra nutrition. It makes your snack routine exciting and personalized.
Are these bars better than store-bought options?
We think so! Homemade bars avoid artificial sweeteners and preservatives. They offer a balanced energy boost without the crash from processed snacks.