
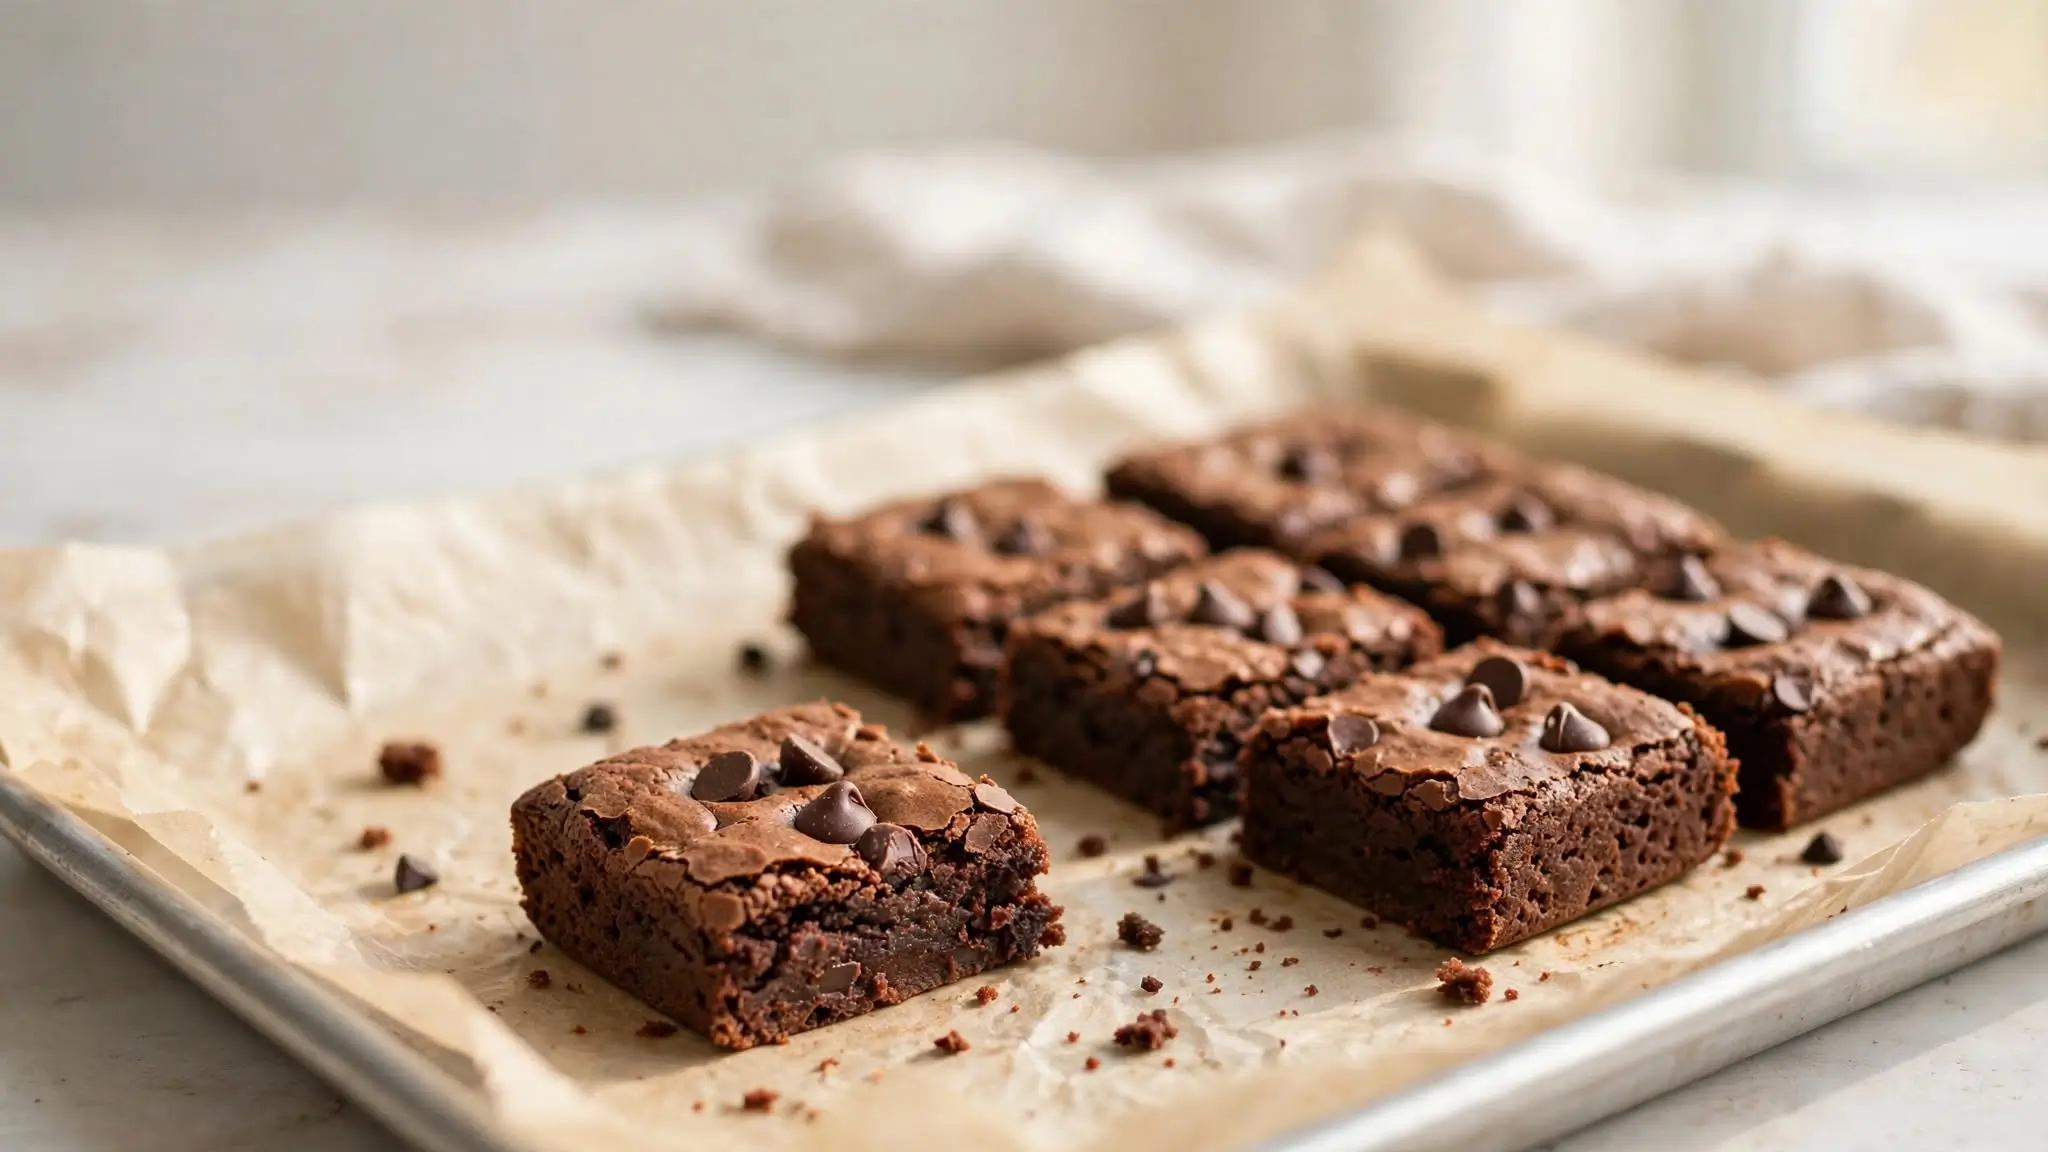
If you want a chocolate treat that also fits more protein into your day, these high protein brownie bars are a simple option to keep in the fridge for whenever you need a quick snack. They have a rich chocolate flavor, a soft brownie texture, and enough structure to pack into a lunchbox or take with you.
I like recipes like this because they don’t require complicated ingredients or a long list of steps. Greek yogurt adds moisture, protein powder helps increase the protein content, and cocoa powder gives the bars their deep chocolate flavor without making them overly sweet.
Table of Contents
High-Protein Brownie Bars
Description
Soft, chocolatey brownie bars made with Greek yogurt, chocolate protein powder, oats, and cocoa powder. They’re easy to prepare ahead and keep in the refrigerator for a convenient grab-and-go treat.
Ingredients
- 1 cup old-fashioned rolled oats (about 90 g)
- 1/2 cup chocolate protein powder (about 50 g)
- 1/3 cup unsweetened cocoa powder (about 30 g)
- 1 teaspoon baking powder
- 1/4 teaspoon salt
- 3/4 cup plain Greek yogurt (about 170 g)
- 2 large eggs
- 1/3 cup pure maple syrup (about 110 g)
- 1 teaspoon vanilla extract
- 2–3 tablespoons milk
- 1/3 cup semi-sweet chocolate chips (about 55 g)
Instructions
- Preheat the oven to 350°F. Line an 8-inch square baking pan with parchment paper.
- Blend the oats until finely ground and similar in texture to flour.
- Whisk the oat flour, protein powder, cocoa powder, baking powder, and salt together in a large bowl.
- In another bowl, whisk the Greek yogurt, eggs, maple syrup, vanilla, and 2 tablespoons of milk until smooth.
- Add the wet mixture to the dry ingredients and stir until just combined. Add the remaining tablespoon of milk only if the batter is too thick to spread easily.
- Fold in most of the chocolate chips.
- Spread the batter evenly into the prepared pan and sprinkle the remaining chocolate chips over the top.
- Bake for 18–22 minutes, until the edges are set and the center remains slightly soft.
- Cool completely in the pan. For firmer bars, refrigerate for at least 30 minutes before slicing.
- Cut into 12 bars and serve.
Notes
Protein powders vary considerably in sweetness and liquid absorption. If your batter is unusually thick, add milk gradually rather than all at once.
Store the bars in an airtight container in the refrigerator for up to 5 days. They can also be individually wrapped and frozen for up to 2 months.
Nutrition information will vary depending on the brands, substitutions, and serving size used.
These high protein brownie bars are a practical way to keep a chocolate snack ready when you need one. Make a batch, let them cool completely, slice them into portions, and keep them refrigerated for an easy treat throughout the week.
Why You’ll Like These High Protein Brownie Bars
These brownie bars are made with a combination of familiar baking ingredients and protein-rich staples. Greek yogurt helps keep the center soft, while eggs provide structure and additional protein. The same approach shows up in more protein brownies and bars.
They’re also convenient for meal prep. Once the bars have cooled, you can slice them into individual portions and store them in the refrigerator so you have a chocolate snack ready to grab.
A few things I especially like about this recipe:
- Soft brownie texture: The Greek yogurt helps keep the bars moist rather than dry.
- Rich chocolate flavor: Cocoa powder and chocolate chips give them plenty of chocolate flavor.
- Protein from everyday ingredients: Greek yogurt, eggs, and protein powder all contribute protein.
- Simple preparation: The batter comes together in one bowl.
- Good for meal prep: The finished bars keep well in the refrigerator.
Ingredients You’ll Need
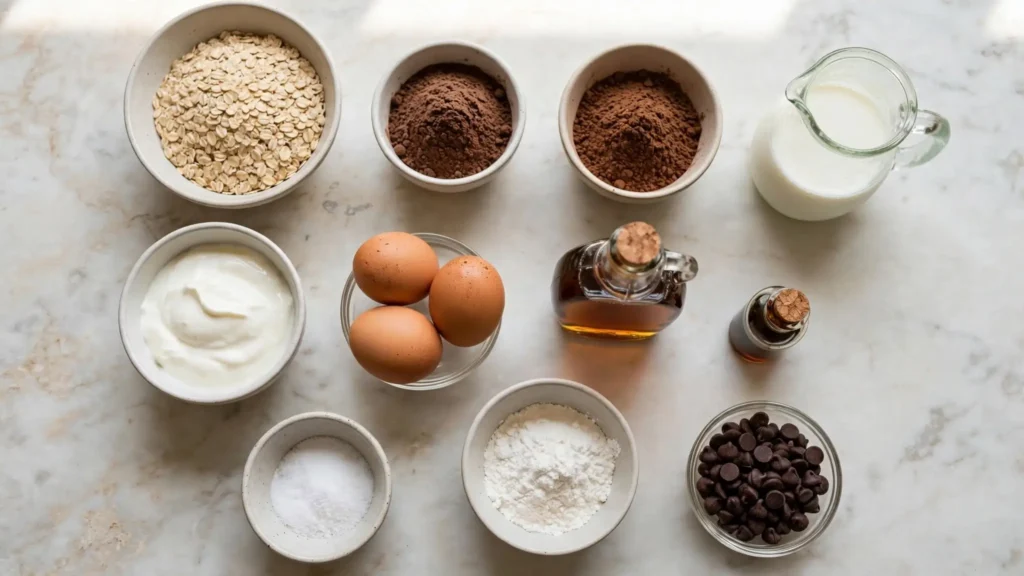
Old-fashioned rolled oats
I use rolled oats as the base rather than relying entirely on flour. Blending them into oat flour gives the brownies a tender texture while keeping the ingredient list simple.
You can use purchased oat flour instead. If you need the recipe to be gluten-free, make sure your oats are specifically labeled gluten-free.
Chocolate protein powder
Chocolate whey or a whey-based blend works well here. Different protein powders absorb liquid differently, so the consistency of your batter can vary slightly between brands.
A plant-based protein powder can also work, although the brownies may be a little denser or drier.
Unsweetened cocoa powder
Cocoa powder provides the main chocolate flavor. Use unsweetened cocoa powder rather than a sweetened cocoa drink mix.
Greek yogurt
Plain Greek yogurt adds moisture and protein. I prefer a thick Greek yogurt because it gives the batter a creamy consistency without making it too loose.
Eggs
Eggs help bind the ingredients and give the brownie bars enough structure to slice cleanly after cooling.
Maple syrup
A little maple syrup adds sweetness and moisture. You can adjust the amount slightly depending on how sweet your protein powder is.
Milk
Milk helps loosen the batter. Start with the smaller amount and add more only if needed because protein powders vary in how much liquid they absorb.
Chocolate chips
Semi-sweet chocolate chips add little pockets of melted chocolate throughout the bars. Dark chocolate chips work well if you prefer a less-sweet flavor.
Baking powder and salt
A small amount of baking powder gives the bars a little lift, while salt helps balance the chocolate flavor.
How to Make High Protein Brownie Bars
- Prepare the pan. Preheat your oven to 350°F. Line an 8-inch square baking pan with parchment paper, leaving some overhang on two sides so the cooled brownies are easy to lift out.
- Make the oat flour. Add the rolled oats to a blender or food processor and blend until they have a fine, flour-like texture.
- Combine the dry ingredients. Add the oat flour, chocolate protein powder, cocoa powder, baking powder, and salt to a large mixing bowl. Whisk until evenly combined.
- Mix the wet ingredients. In a separate bowl, whisk together the Greek yogurt, eggs, maple syrup, vanilla extract, and 2 tablespoons of milk until smooth.
- Combine the batter. Add the wet ingredients to the dry ingredients and stir just until combined. The batter should be thick but spreadable. If it feels unusually stiff, add the remaining 1 tablespoon of milk.
- Add the chocolate chips. Fold in most of the chocolate chips, reserving a small amount to sprinkle over the top.
- Fill the pan. Transfer the batter to the prepared pan and spread it into an even layer. Sprinkle the remaining chocolate chips over the surface.
- Bake. Bake for about 18 to 22 minutes. The edges should look set, while the center should still look slightly soft. Avoid overbaking, since protein-rich baked goods can become dry when left in the oven too long.
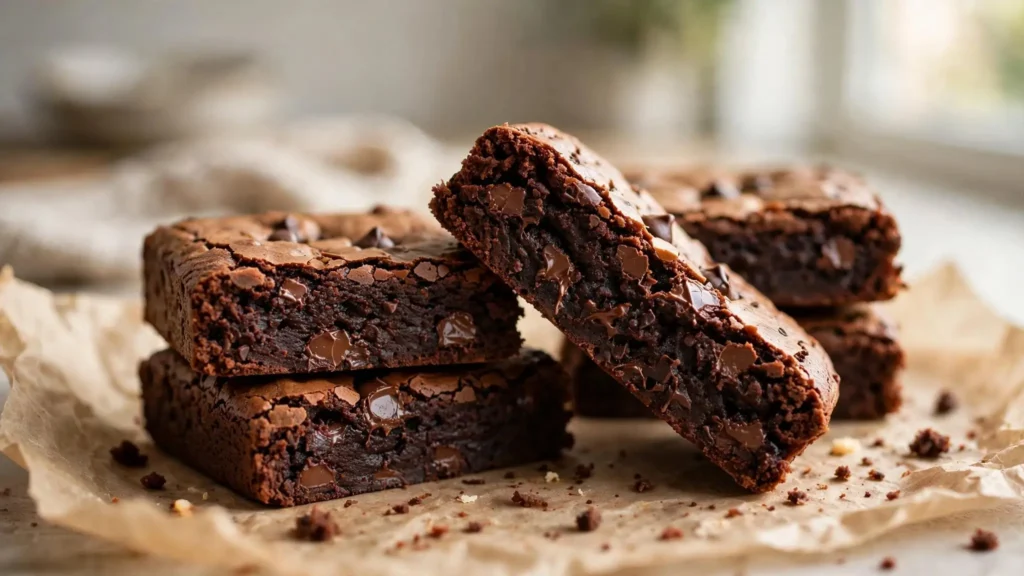
- Cool completely. Let the brownie bars cool in the pan before slicing. For cleaner slices and a firmer texture, refrigerate them for at least 30 minutes after they have cooled to room temperature.
- Slice and serve. Lift the brownies from the pan using the parchment overhang and cut into 12 bars.
Tips for the Best Results
Don’t overbake the brownies
This is probably the most important tip. The center doesn’t need to look completely firm when you remove the pan from the oven. It will continue to set as the bars cool.
Pay attention to your protein powder
Protein powders aren’t interchangeable in baking. Whey protein, casein, whey-casein blends, and plant-based powders can all absorb liquid differently.
If your batter is very thick, add milk a teaspoon or tablespoon at a time rather than adding a large amount at once.
Let them cool before slicing
Warm brownies are soft and fragile. Give them time to cool and set before cutting them. Chilling them makes the bars firmer and easier to portion.
Use parchment paper
The parchment makes removing the finished brownies much easier. It also means you don’t have to dig individual pieces out of the pan.
Don’t overmix
Once the wet and dry ingredients are combined, stop stirring. A few small streaks are better than repeatedly mixing the batter.
Variations and Substitutions
There are several ways to adjust these brownie bars depending on what you have in your kitchen.
Greek yogurt: Plain skyr can be used in place of Greek yogurt. The texture may be slightly firmer.
Maple syrup: Honey can be substituted for the maple syrup. The flavor will be a little different, but the recipe will still have the moisture it needs.
Milk: Dairy milk can be replaced with an unsweetened plant-based milk. Use one with a similar consistency rather than a very thin beverage if possible.
Chocolate chips: Try dark chocolate chips, mini chocolate chips, or chopped chocolate.
Protein powder: Vanilla protein powder can work if that’s what you have, although the chocolate flavor will be slightly less intense. You may want to add an extra tablespoon of cocoa powder.
How to Serve Them
These brownie bars are easy to serve straight from the refrigerator, but you can also let one sit at room temperature for a few minutes if you prefer a softer texture.
For dessert, try serving a bar with a spoonful of Greek yogurt and a few fresh berries. For a simple snack, just slice and pack one into a small container.
They’re also convenient for afternoon snacks when you want something chocolatey without making an entire batch of dessert every time.
Storage and Meal Prep
Store the cooled brownie bars in an airtight container in the refrigerator for up to 5 days.
For meal prep, slice the full batch before storing it. Place parchment between layers if you stack the bars so they don’t stick together.
You can also freeze the bars. Wrap individual portions well and place them in a freezer-safe container or bag. Freeze for up to 2 months for the best quality.
Thaw frozen bars overnight in the refrigerator or let one thaw in the refrigerator before serving. The texture may be slightly softer after freezing and thawing.
Protein Notes
The main protein sources in these brownie bars are Greek yogurt, eggs, and chocolate protein powder. The exact amount will depend heavily on the protein powder and Greek yogurt brands you use, as well as how large you cut the bars.
If you’re looking to increase the protein content further, using a Greek yogurt with a higher protein content or a protein powder with more protein per serving will change the final amount.
The total protein and nutrition values will vary depending on the brands, substitutions, and serving size used.
Frequently Asked Questions
Can I make these brownie bars without protein powder?
Protein powder plays an important role in the recipe, so leaving it out will change the texture and protein content. You would likely need to adjust the dry and wet ingredients rather than simply omitting it.
Why are my protein brownies dry?
Overbaking is one of the most common reasons protein brownies turn out dry. Protein powder can also absorb quite a bit of moisture, and different brands behave differently. Start checking the brownies around 18 minutes and remove them when the edges are set but the center still looks slightly soft.
Can I use vanilla protein powder?
Yes. Vanilla protein powder can be used, although the chocolate flavor won’t be quite as strong. I would add an extra tablespoon of unsweetened cocoa powder if you want a deeper chocolate taste.
Can I use cottage cheese instead of Greek yogurt?
You can experiment with blended cottage cheese, but it may produce a slightly different texture. Blend it until completely smooth before adding it to the wet ingredients.
How do I get cleaner brownie slices?
Cool the brownies completely first, then refrigerate them for at least 30 minutes. Use a sharp knife and wipe it clean between cuts.
Can I freeze high-protein brownie bars?
Yes. Wrap individual bars and freeze them in an airtight freezer-safe container for up to 2 months. Thaw them in the refrigerator before serving.
Conclusion
These high protein brownie bars are a simple way to keep a chocolate treat ready for busy days. With their soft brownie texture, rich cocoa flavor, and protein from Greek yogurt, eggs, and protein powder, they’re easy to portion and store for later. For another take on the same idea, try our Peanut Butter Protein Brownies.
I like making a batch ahead and keeping the bars in the refrigerator so there’s always something ready to grab. Enjoy them as an afternoon snack, a lunchbox treat, or a simple dessert whenever you’re in the mood for chocolate. For more along these lines, see our other protein dessert recipes.